Hexchess Guide
Hexchess Guide for Crystal of Atlan
Last updated: 12/6/2025

HEXCHESS GUIDE
Overview
Hexchess is an endgame raid mode that pushes players to their limits
through complex boss mechanics and coordinated team play. The raid
allows cross-server matchmaking, enabling players to join forces
beyond their own server to overcome its challenges.
Hexchess features three difficulty levels: Solo, Story, and Elite. The
Solo mode is a toned-down version of the raid, designed for individual
players. It presents fewer mechanics and lower difficulty, but naturally
offers reduced rewards. Story mode allows up to four players and provides
the full raid experience, including all key mechanics and standard loot.
For those seeking the ultimate challenge, Elite mode is an eight-player
version with significantly higher difficulty and enhanced rewards.
Elite Mode offers prestigious rewards. The first 24 players to clear
it with members from their own server will receive the exclusive SS Rank
title "Hexchess Grandmaster". Additionally, within each server, the first
8 players to complete Elite Mode will be permanently honored in the Hall
of Honors.
Unique Elite Mode completions provide server-wide buffs that make future
runs easier. Reaching 24 and 300 clears grants 15% ATK and 300 DEF Shred.
Hitting 100 and 600 clears adds 50% DEF. At 1000 clears, the server gets
20% ATK and 400 DEF Shred. Additionally, there's a leaderboard that rewards
players who assist in first-time clears, offering extra loot and encouraging
experienced players to help others progress.
Hexchess rewards players with valuable loot, including Jet-Black Sculptures,
Boss Insignias, Boss Modules, and Blueprint Parts. The Jet-Black Sculptures
and Blueprints are essential materials used to craft and upgrade Level
60 Gear, each offering unique set bonuses.
Players can challenge Hexchess up to three times per week, with each
boss having its own claimable checkpoint.
Hexchess Solo and Story modes require a certain amount of Nullification
to access each boss. The thresholds are as follows: 1500 for Pawn, 2500
for Knight & Bishop, 3500 for Rook, and 4500 for King & Queen. For Hexchess
Elite, the requirements are even higher: 2000 for Pawn, 3000 for Knight
& Bishop, 4000 for Rook, and 5000 for King & Queen. Players who attempt
these bosses without meeting the Nullification requirement will suffer
severe continuous damage, making survival impossible.
Below we breakdown the bosses’ mechanics, what players should look out
for at certain points of the fight, what players should prepare before
trying to clear this raid, and tips and tricks to clear Hexchess Elite.
STRATEGY
GEAR REQUIREMENT
For Hexchess Elite Mode, the recommended Gear Rating is around
22,500, with a minimum Power of 40,000. Meeting these benchmarks
should provide enough leeway to handle most DPS checks for a
smoother run.
In terms of party composition, it’s highly advised to include at least
two Scytheguards, with four being optimal. Their supportive healing and
buffs significantly improve team survivability and stability throughout
the Raid.
BUFF
Before heading into the fight, there are a couple things the players
should prepare beforehand.
Player can buff themselves at Golden Fleece with random Buffs of their
choices. Afterward, players can go to Adventurer's Lodge and Sleep, and
get random Buff, or debuff (which last shortly). Players should also
prepare 3 food, namely :
- Fried Fruit Skewers – +8% PDEF & +8% MDEF (Protection)
- Carrot Mushroom Rice – +8% PATK & +8% MATK (Assault)
- Any Elemental food – Based on your chosen element (unlocked from Exploration Rewards)
GENERAL STRATEGY
The Hexchess raid is structured like a tournament, progressing
through multiple coordinated phases. First, each player must solo
the Pawn. Once defeated, two adjacent players team up to take on
either the Knight or Bishop. After that, four adjacent players
combine to fight the Rook, and finally, all eight players will face
off against the King & Queen together.
There are eight slots on the Hexchess board, each representing a position
that can be occupied by a player. To ensure survivability and balanced
support, it’s recommended to spread Scytheguards across both sides. If
only two Scytheguards are available, assign one to each side. If there
are four, it’s ideal to pair each Scytheguard with another class, creating
balanced teams.
Each tile on the board provides a unique buff:
- Pawn grants Crit Rate and Critical Damage, which ramp up toward the final boss.
- Knight grants Movement Speed (MSPD) and Skill Damage, but these bonuses diminish as players approach the final boss.
- Chariot provides fixed Damage Reduction and Critical Damage.
Strategically assigning roles can make a difference. Weaker members
can benefit from starting on Knight tiles to support the early
phases of the raid. Meanwhile, stronger players should ideally take
the Pawn tiles to maximize late-game damage scaling. The remaining
slots can be filled flexibly, depending on party composition.
Each team has a pool of 25 Team Revives and 5 Personal Revives per player.
Managing these revives is crucial for a smooth run. Avoid reviving unless
absolutely necessary—especially during the early stages—to conserve them
for the more difficult bosses.
If a player or group finishes their phase early, a portal opens allowing
them to assist the next group. However, using this portal doubles the
boss’s current HP, often making the fight more difficult. As such, it’s
generally advised to only assist on the Knight or Bishop phase, and only
if there are less than five minutes left on the timer.
Timers differ depending on the boss:
- Pawn and Knight/Bishop: Total 20 minutes
- Rook and King/Queen: Total 25 minutes
This time distribution supports a safe and slow until finishing Bishop/Knight, only helping other party under 5 minute timer if needed. Once the team reaches Rook and King, however, an aggressive strategy is recommended. Players should not hesitate to use revives to push through, to finish the fight as soon as possible.It's recommended to have around 10 to 15 Team Revives upon entering Rook. With these strategies, players are expected to be able to clear King while having around 5-10 minutes leeway.
PAWN
Pawn is the first boss each player must fight solo. The mechanics
are fairly simple, but they can still catch you off guard if
you're not paying attention. It’s generally safe to help adjacent
players through the portal if needed, as Pawn has no extra
mechanic that punishes helping. However, do not revive if player
die when helping—as long as one player stays alive, the fight can
continue.
Watch out for these notable mechanics to handle the fight smoothly.
Energy Slash
The Boss jumps backward and fires three energy slashes. To avoid getting hit, simply keep moving and run around as Boss performs this attack.
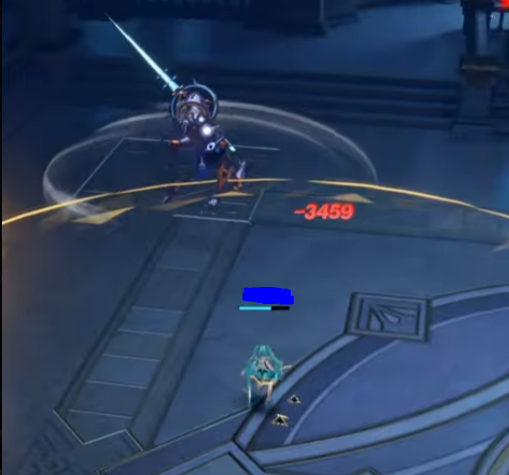
Circle Strike
The Boss pulls players in and performs a massive AOE swipe.
You can jump to avoid the initial version of this attack.
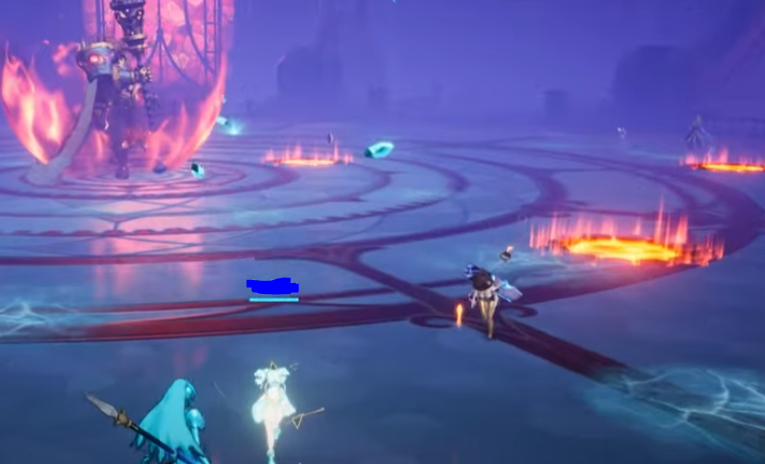
When the Boss's HP is low, a variation of this move occurs—blades
rise afterwards and hit players in the air. To avoid this version,
watch for the expanding blue AOE circle and immediately run and
dash away.
Lightning Strike
Stabs sword into the ground, triggering random AoEs across
the area and one that follows the player. After a short
delay, it ends with a large explosion.
Keep moving to avoid the scattered AoEs, and be ready to dodge
the final big explosion.
Lightning Beam
Fires three straight lightning beams in a sweeping motion,
with the final beam being the largest. The boss rotates
slowly during this attack.
You can dodge each beam, run in a small circle around the boss,
or position yourself behind him to avoid all damage easily.
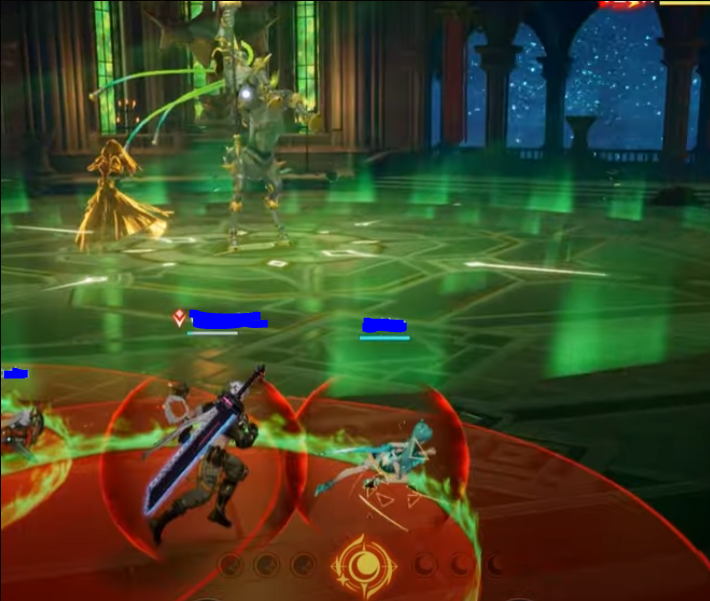
KNIGHT (LEOTID)
Knight is one of the second bosses, fought in a duo setup.
Coordination is important here. Avoid helping the Bishop side or
receiving help via portal until there’s 5 minutes left, since
portal help doubles the boss’s HP. If one player dies, do not
revive immediately. Leotid skips his wipe mechanic when there’s
only one player alive, making it safer. Only revive if both
players are down or running out of time, and prioritize stronger
players for the revive.
Pay attention to the following notable mechanics to clear the fight
effectively.
Tether
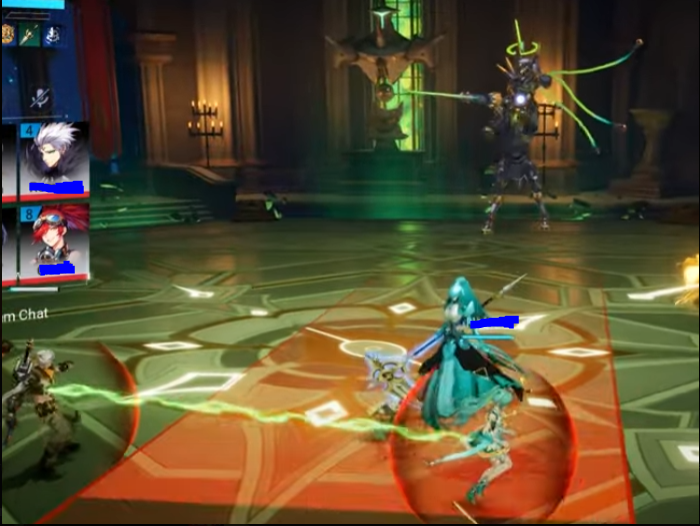
Two players will be linked by a tether. The goal is to trip the boss by stretching the rope across them. Don’t move too close (rope turns red and inactive), and don’t move too far (you get stuck). Keep the right distance and position to trip the boss successfully.
Meteor Strike
Leotid jumps to the center and creates a large DoT
field—only the outer edge is safe. He then fires AoEs under
players' feet that chase them and leave burning ground.
If players are tied, move together and stay close. If not tied,
split directions and run in a zig-zag (up/down) pattern to minimize
overlap and avoid hitting each other.
Merry Go Round
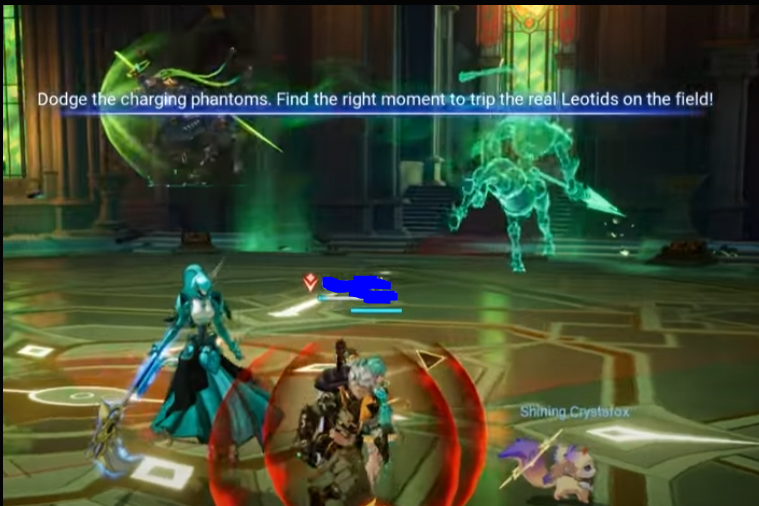
Leotid runs along the outer edge while summoning phantoms
that charge toward the center. When tje boss stops, players
must trip him using the rope.
Failing to trip him triggers a massive AoE wipe (survivable with
high HP/DEF, but unlikely).
Easiest way: stand in the center when the boss stops, since the
real one always passes through it. Cheese strat: save 1 awakening
and cast it right before the explosion to evade the wipe.
Note: If only 1 player is alive in the arena, Leotid will
not perform the wipe mechanic.
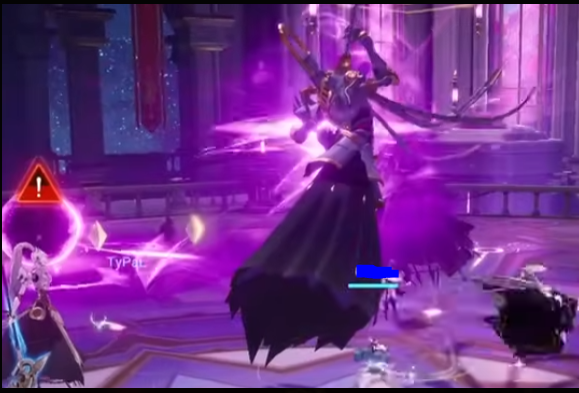
BISHOP (OPHELIA)
Bishop is one of the second bosses, fought in a duo setup.
Coordination is important for a smooth run. It's best to avoid
helping or receiving help through the portal until there are only
five minutes left, since doing so will double the boss's current
HP and make the fight significantly harder. Unlike Knight, Bishop
doesn’t have wipe mechanics that trigger based on the number of
players alive, so it’s generally fine to use revives when needed.
If revives are limited, prioritize bringing back the stronger
player to maintain DPS and control.
Pay attention to the following notable mechanics to clear the fight
effectively.
Fireball Bomb
Ophelia summons 4 fireballs on the field and teleports to
the opposite side.
The fireballs will explode in a large AoE. To avoid damage, either
destroy the fireball closest to the boss or time your jump to
leap over it.
Creature of Darkness
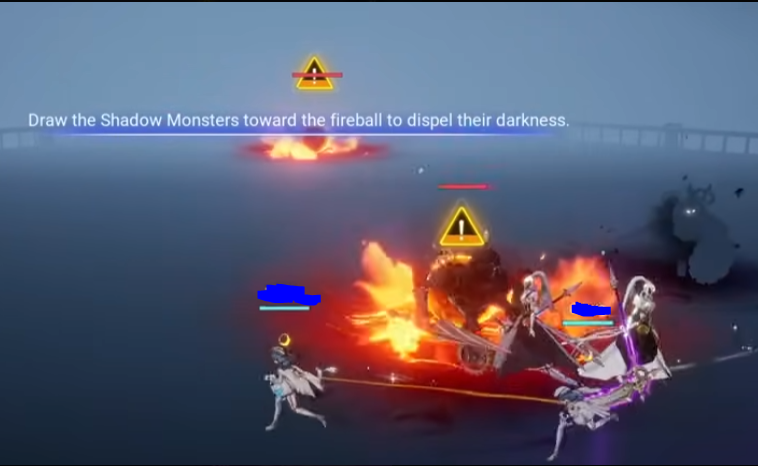
Ophelia summons 2 fireballs along with some Darkness
Creatures that is initially invulnerable.
To remove the invulnerability, bait the creature into one of
the fireballs. Once it's exposed, kill it quickly. Fireballs
will respawn, so repeat as needed.
Sometimes Ophelia appears and fires a massive laser that sweeps
across the arena.
To avoid it, move close to her — there's a blind spot near her
body. The laser rotates slowly, giving you time to adjust.
Void Fireball
Ophelia summons 4 indestructible fireballs that transform
into sucking AoE DoT zones.
To avoid getting pulled and damaged, stay in the center of the
arena until they disappear.
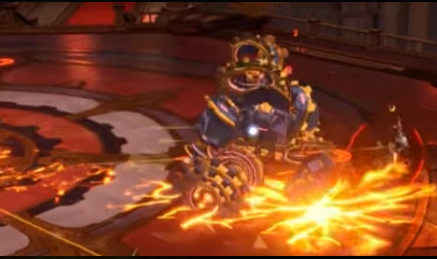
ROOK
Rook is the third boss, fought in a 4-man setup. Coordination
becomes more crucial at this stage. Avoid helping or receiving
help through the portal, as it will double the boss’s HP and make
the fight unnecessarily harder. This phase shares a combined
25-minute timer with the final King and Queen fight, so efficient
use of time is essential. Revives should be used more freely here
to maintain momentum. It’s also recommended to distribute stronger
players evenly between the two 4-man teams to ensure balanced
clear times.
Pay attention to the following notable mechanics to clear the fight
effectively.
Stomp Rage
The boss slams the ground repeatedly while chasing a
targeted player, leaving a burning trail behind.
When enraged, its speed increases significantly.
Bait it away from the center and kite it along the edge of the
arena to keep the middle area safe.
Spin
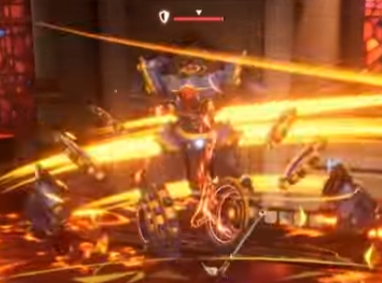
The boss starts spinning, dealing continuous damage in
nearby.
Quickly dodge away and keep your distance until it stops.
Extend Grab
When the boss jumps backward and grab someone with extended hand. This attack deals massive damage and usually results in an instant kill. Be alert and dodge immediately if you see the boss leap backwards.
Pillar of Fire
The boss spawns AoEs on every player that follow and chase
them.
Getting hit will restrain the player, requiring a teammate to
free them by hitting the restraint.
To avoid this, keep moving and stay spread out from each other.
Energy Beam
The boss fires 2 beams in two direction, then another 2 in a
different direction, forming an X-shaped pattern.
Simply move out of the beam paths to avoid damage.
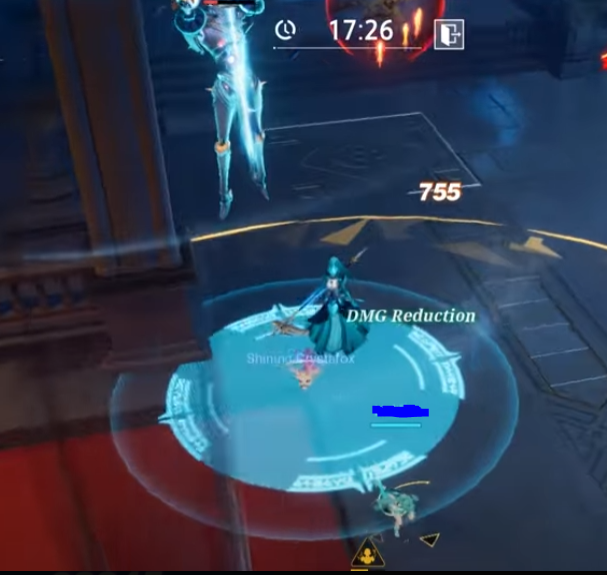
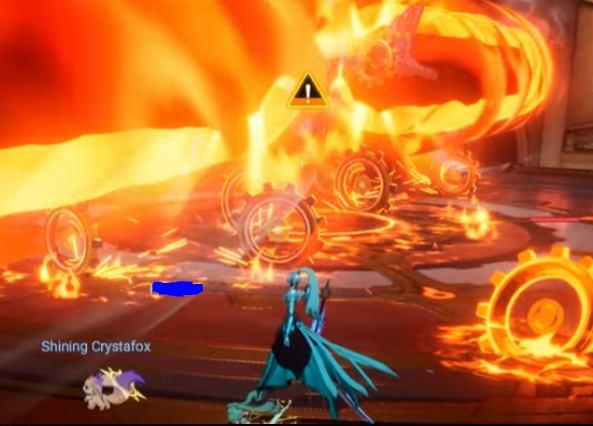
Cogwheel
The boss moves to the center and spawns 4 cogwheels in 4
directions. Each player needs to break a cogwheel (which
applies a slow) and bring it into the center while dodging
rotating cogwheels around the boss.
If all 4 players bring their cogwheels in, the boss’s guard breaks,
opening a big DPS window. Failing to do so triggers a deadly
AoE, but stepping inside the center grants "Protection" to survive.
Avoid leaving burning trails on the middle the arena to avoid
can make the mechanic much harder.
Cogwheel Beam
This version of the cogwheel mechanic includes deadly
rotating beams around the boss.
Wait for the beam to pass before grabbing your cogwheel to avoid
getting hit and slowed too early.
However, it’s generally better to ignore this mechanic entirely
and just let the boss enrage—less risky and more manageable.
If enraged, just focus on dealing enough damage—his shield will
eventually break.
Be aware that during enrage, all mechanics are faster and hit
significantly harder. Stay alert and burst him down quickly.
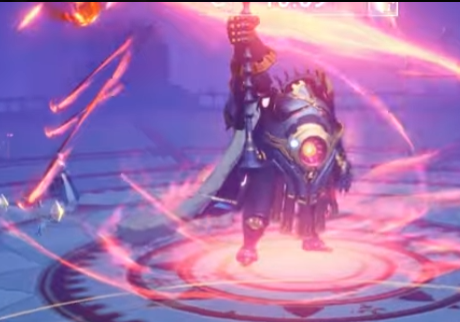
KING & QUEEN
King & Queen is the final boss, fought in a 8-man setup.
Coordination becomes more crucial at this stage. This phase shares
a combined 25-minute timer with previous Rook fight, so efficient
use of time is essential. Revives should be used freely here to
maintain DPS. Good remaining time limit here would be around 15-17
minute, with good leeway of time when it ends.
Pay attention to the following notable mechanics to clear the fight
effectively.
Teleport
If you see the Queen start this animation, she's about to teleport. Hold off on using skills, or you’ll end up missing damage.
Ice Age
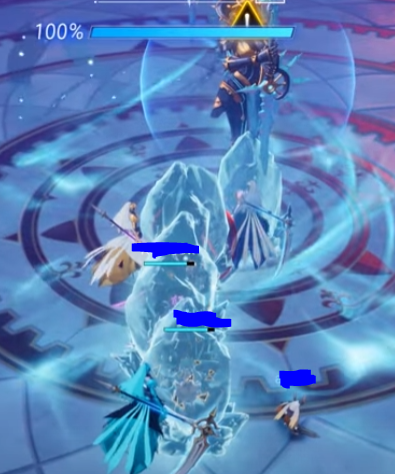
At around 535x HP, the Queen freezes everyone and targets one player with a fireball. That player must bait the fireball to free the others. Once freed, everyone should rush to the center and break the Queen’s shield.
Magma Crater
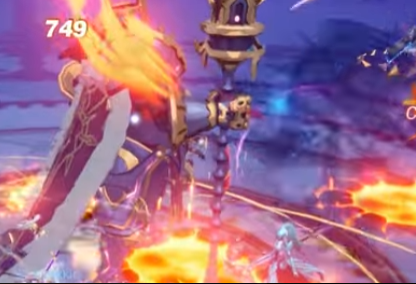
At 450x HP, the King spawns. This move leaves delayed AoEs under every player's feet—dodge them carefully. Getting hit multiple times is almost guaranteed death due to high damage.
Firebolts
The boss gains a burning AoE around himself and launches homing firebolts that chase all players. Keep running and avoid them—getting hit deals heavy damage and applies burn.
King's Shield
At around 605x HP and certain other stages, the King becomes shielded—focus damage on the Queen instead. During this phase, the King will continuously summon fireballs, firebolts, or magma craters to pressure the team. Stay alert and prioritize avoiding AoEs while dealing with the Queen.
Ice Missiles
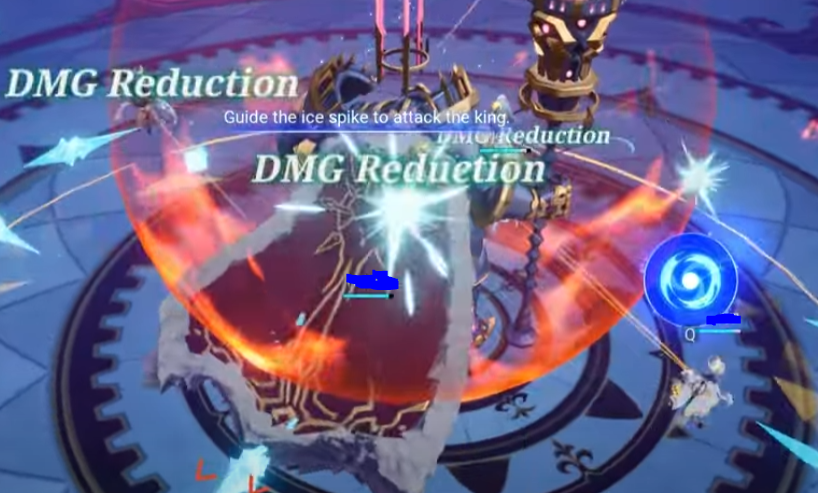
At around 300x HP, the Queen moves away and several ice
portals will spawn outside the arena, chasing players with
icicles. Players must bait these icicles into hitting the
King's shield—after enough hits, the shield will break.
Shortly after, Meridia will spawn and the King will regain his
shield again. Prepare for another shield-breaking phase.
Pawn Promotion
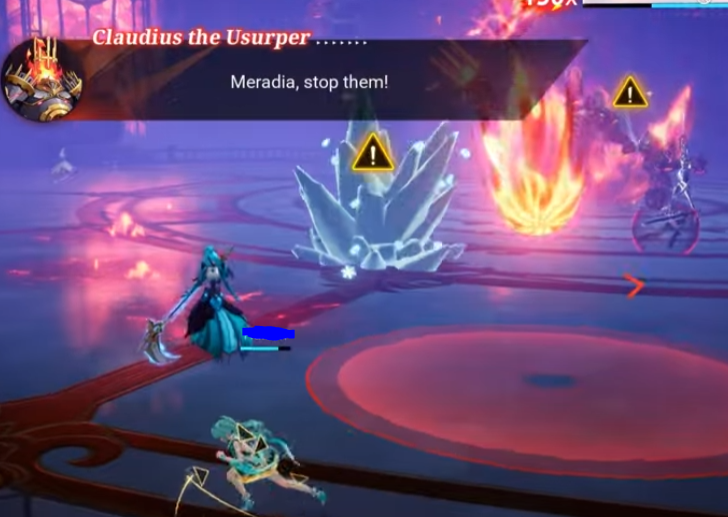
At 150x HP, the Queen triggers a special phase:
The King spawns 2 pawns and selects 2 players to become "Pawn
Players". These players can upgrade from Pawn → Bishop → Queen
by killing enemy Pawns.
Only Pawn Players can damage the special enemy spawns during
this phase.
Meanwhile, the King will target 1 player (not a pawn) and continuously
launch fireballs at them. These fireballs can be used to melt
frozen Pawn Players.
Two Ice Spikes will spawn occasionally and freeze Pawn Players
upon exploding. Free players must destroy these quickly to avoid
an explosion.
Once both Pawn Players reach Queen rank, they can destroy the
King’s shield in the center and end the mechanic.
Dance of Ice and Fire
After the King gets up, he will spawn ice and magma craters
all over the arena. Just keep moving to avoid getting hit.
Once this phase ends, the Queen will reappear, and this time
she can be killed.
Final Phase: Once the Queen is dead, the King becomes fully vulnerable.
He’ll occasionally spawn fireballs (just avoid them) and ground
shockwaves that travel outward. Keep dodging and focus all DPS
to finish the fight.
Copyright @ 2025 Boarhat.gg