Queen Coronation Guide
Queen Coronation Guide for Crystal of Atlan
Last updated: 19/7/2025

QUEEN CORONATION GUIDE
Overview
Hexchess - Queen Coronation is an endgame raid mode that pushes
players to their limits through complex boss mechanics and
coordinated team play. The raid allows cross-server matchmaking,
enabling players to join forces beyond their own server to overcome
its challenges.
Hexchess features three difficulty levels: Solo, Story, and Elite. The
Solo mode is a toned-down version of the raid, designed for individual
players. It presents fewer mechanics and lower difficulty, but naturally
offers reduced rewards. Story mode allows up to four players and provides
the full raid experience, including all key mechanics and standard loot.
For those seeking the ultimate challenge, Elite mode is an eight-player
version with significantly higher difficulty and enhanced rewards.
Elite Mode offers prestigious rewards. The first 24 players to clear
it with members from their own server will receive the exclusive moniker
"Tyrant Slayer". Additionally, within each server, the first 8 players
to complete Elite Mode will be permanently honored in the Hall of Honors.
Unique Elite Mode completions provide server-wide buffs that make future
runs easier. Reaching 24 and 300 clears grants 15% ATK and 300 DEF Shred.
Hitting 100 and 600 clears adds 50% DEF. At 1000 clears, the server gets
20% ATK and 400 DEF Shred. Additionally, there's a leaderboard that rewards
players who assist in first-time clears, offering extra loot and encouraging
experienced players to help others progress.
Hexchess - Queen Coronation rewards players with valuable loot, including
Jet-Black Sculptures, Boss Insignias, Boss Modules, Blueprint Parts and
Hexchess Soul Pieces Part 1/2. Hexchess Soul Pieces are 2 part of an
item which must be dropped in order to continue with the quest that gives
player Hexchess Soul Weapon. The Jet-Black Sculptures and Blueprints
are essential materials used to craft and upgrade Level 60 Gear, each
offering unique set bonuses.Further detail about the weapon can be seen
on other guide below!
Level 60 Gearing Route Guide
Players can challenge Hexchess up to three times per week, with each
boss having its own claimable checkpoint.
Hexchess - Queen Coronation Solo and Story modes require 5000 Nullification
to access. Players who attempt these bosses without meeting the Nullification
requirement will suffer severe continuous damage, making survival impossible.
Below we breakdown the bosses’ mechanics, what players should look out
for at certain points of the fight, what players should prepare before
trying to clear this raid, and tips and tricks to clear Hexchess - Queen
Coronation Elite.
STRATEGY
GEAR REQUIREMENT
For Hexchess Elite Mode, the recommended minimum Power of 60,000
without the buff, 50.000 for 2 Scytheguard Support. Meeting these
benchmarks should provide enough leeway to handle most DPS checks
for a smoother run.
In terms of party composition, it’s highly advised to include at least
two Scytheguards. Their supportive healing and buffs significantly improve
team survivability and stability throughout the Raid.
BUFF
Before heading into the fight, there are a couple things the players
should prepare beforehand.
Player can buff themselves at Golden Fleece with random Buffs of their
choices. Afterward, players can go to Adventurer's Lodge and Sleep, and
get random Buff, or debuff (which last shortly). Players should also
prepare 3 food, namely :
- Fried Fruit Skewers – +8% PDEF & +8% MDEF (Protection)
- Carrot Mushroom Rice – +8% PATK & +8% MATK (Assault)
- Any Elemental food – Based on your chosen element (unlocked from Exploration Rewards)
GENERAL STRATEGY
The Hexchess - Queen Coronation raid only have 1 boss, with 8
position to be filled, 2 Rook, 2 Bishop, 2 Pawn, 2 Knight. These
position doesn't give any buff in the fight, but is used to
determine people's symbol on the fight.
Due to a mechanic, it's recommended to put 4 strongest DPS on Knight
and Bishop role. Also, due to another mechanic, it's recommended to use
1st and 2nd ultimate for it's low cooldown.
Each team has a pool of 15 Team Revives and 3 Personal Revives per player.
Managing these revives is crucial for a smooth run. Avoid dying during
the early phases.
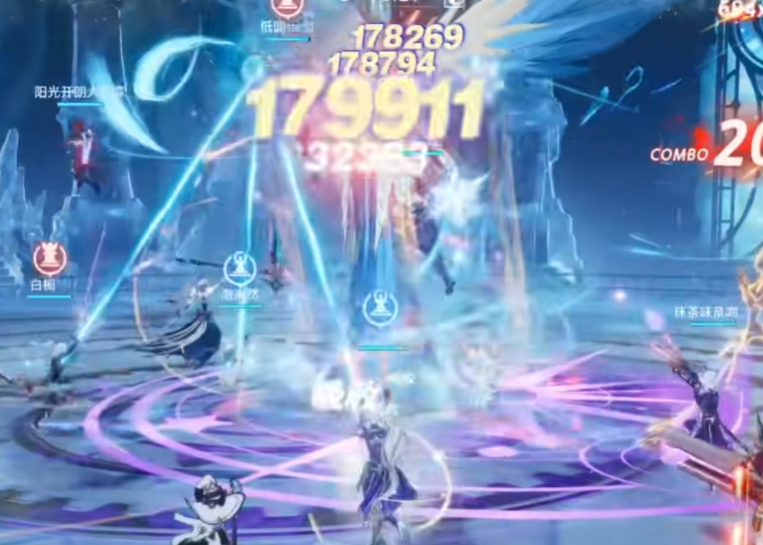
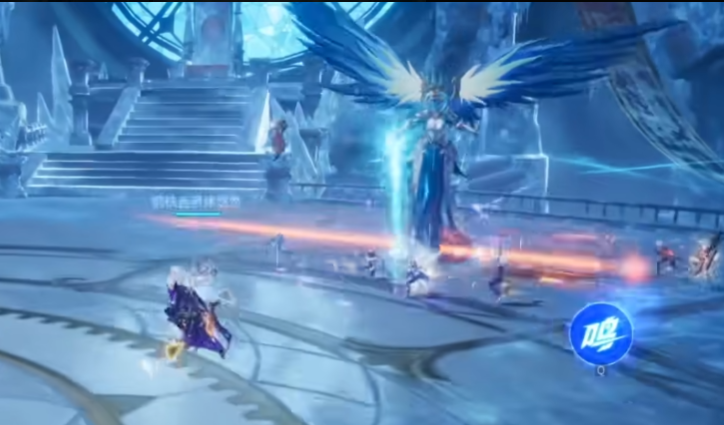
QUEEN MERIDIA
Queen is the final boss, fought in a 8-man setup. Coordination is
crucial at this stage. The fight is split to 3 phases, Fire Phase,
Ice Phase, and Dual Phase.
Pay attention to the following notable mechanics to clear the fight
effectively.
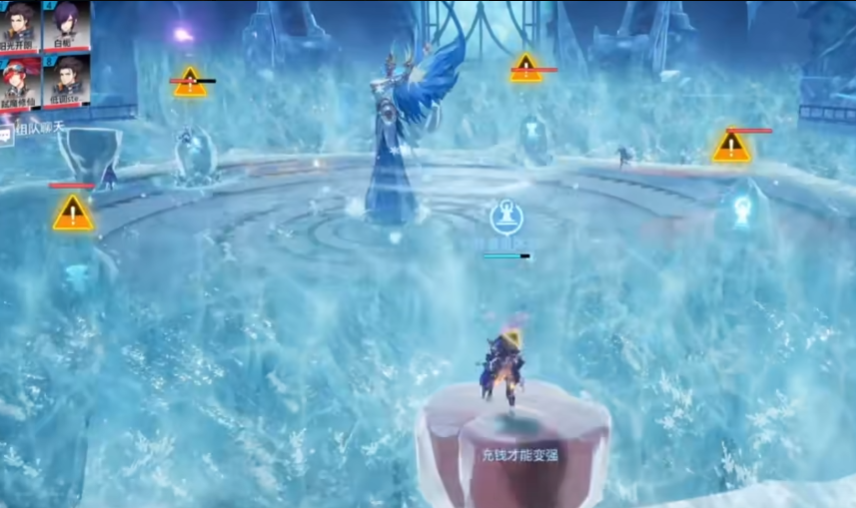
Starting Zone
Use the Ice Cone dropped as a platform, or triple jump accross, while clearing the minions along the way.
FIRE PHASE
Laser Ray
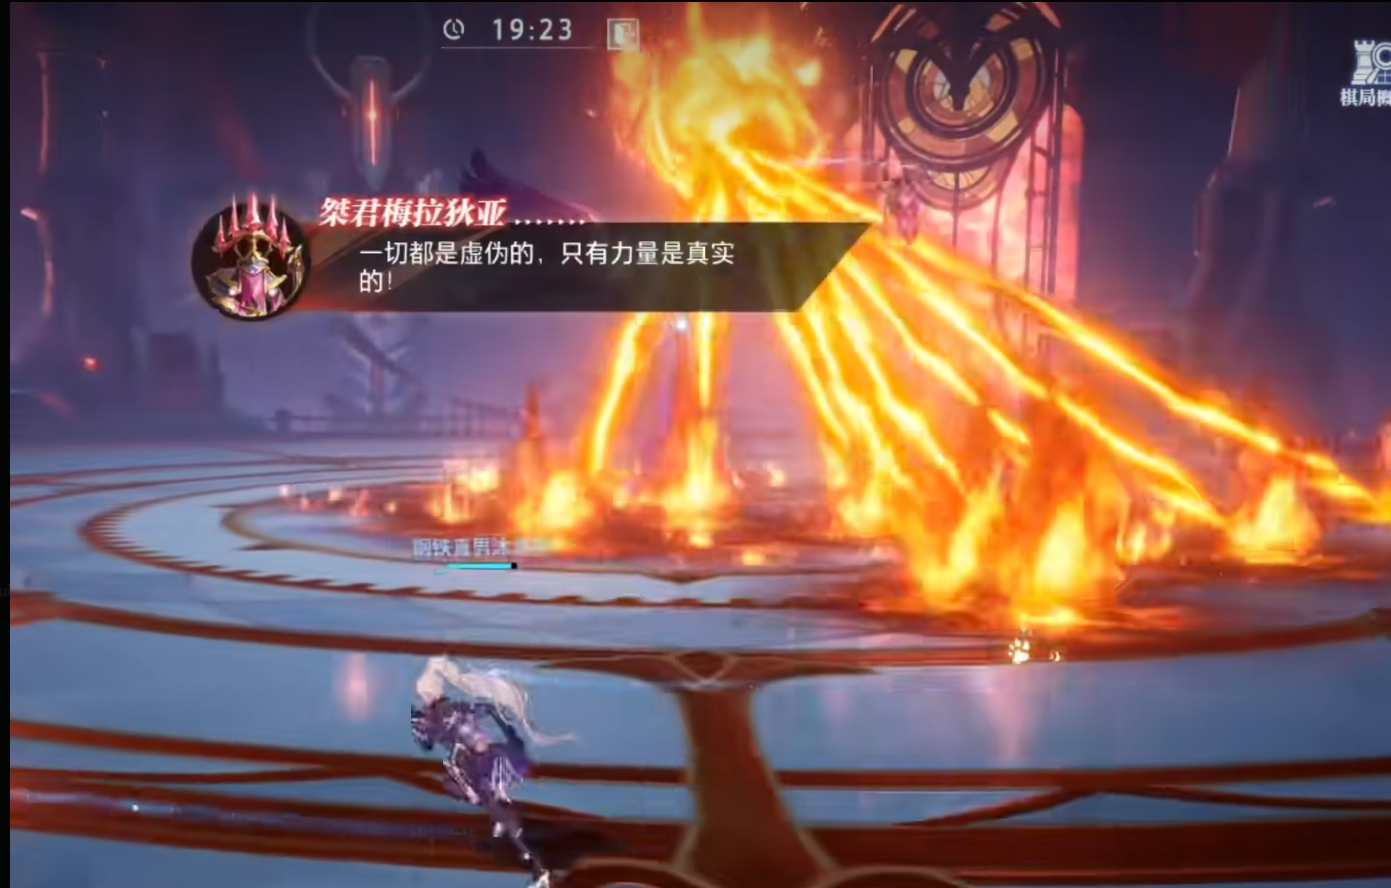
At the beginning of the fight, and every once in a while in Fire Phase, the queen will unleash 8 tracking laser to everyone that leaves burning ground. While this is scary, players can just stay in mid-air and DPS the boss, the laser only do damage near ground. If players are not confident in staying mid-air (double jump height), feel free to run around to prioritize survival.
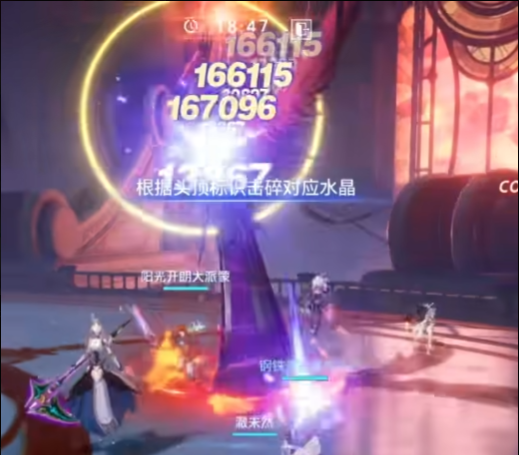
Seal Bomb (Fire)
Meridia occasionally select 4 random people (2 pair) and skill their skills, leaving only ultimate and pet skills. The boss then put 2 bombs with 2 symbols that can only be damaged by the sealed people with their respective symbols, which is determined from the position before starting the raid. It's recommended to save up Ultimates, or even Pet skills, to break these bombs whenever it come up. Failure to break the bomb result in a wipe.
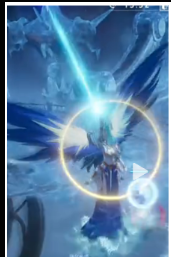
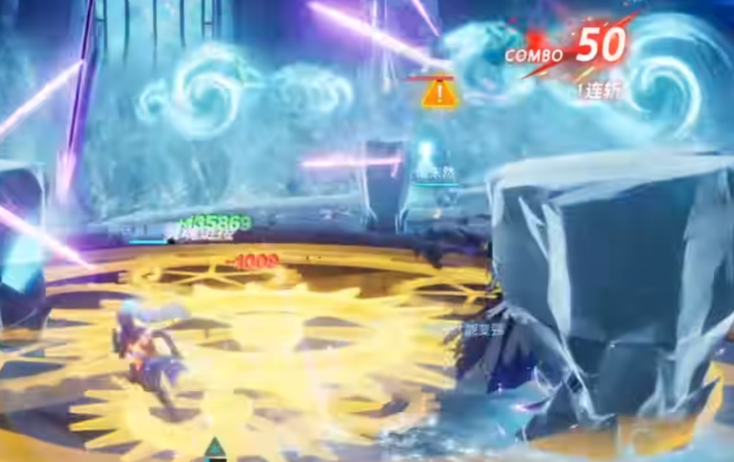
Front Slash (Fire)
The boss gains raise the sword upward and create
a golden glowing circle, indicating 3 slash
big AOE in front of the boss that leaves burning ground. Do
not stand in front of her, or just time the dodge.
Staying in air (double jump height) also allow players to dodge
the slashes entirely.
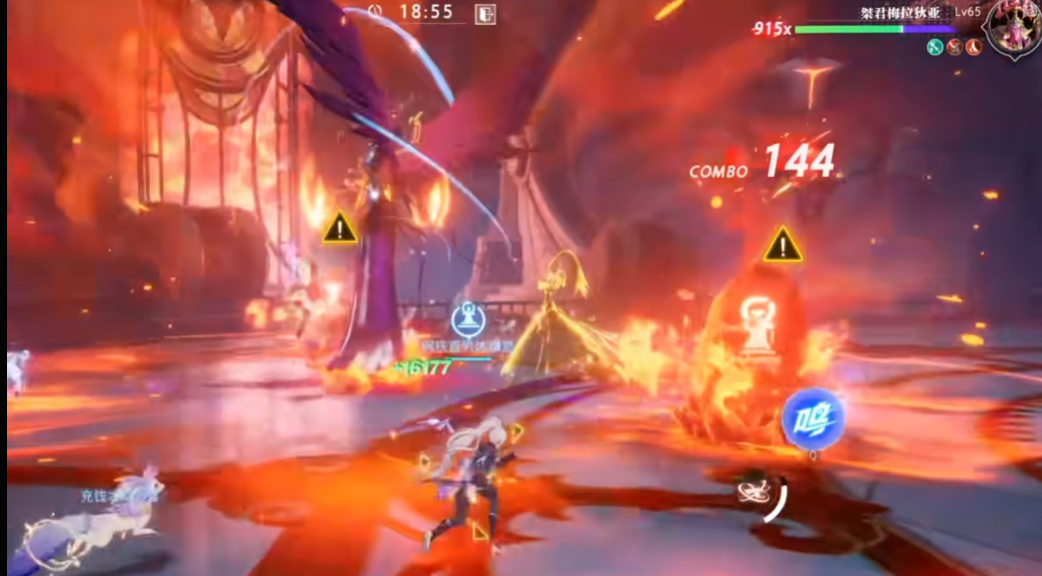
Fire Wall (x910 HP)

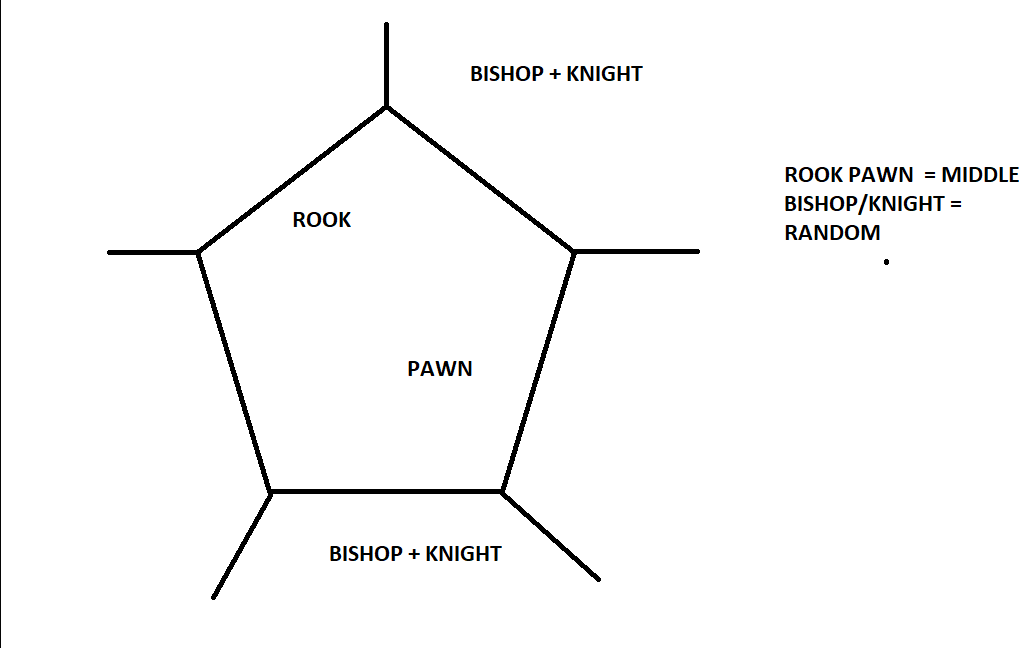
At around x910 HP, the boss will teleport to middle and seal
everyone's skill. The boss then put up Hexagonal burning
area in the middle, and 5 outer area, which are blocked by
fire wall which go up and down periodically. There are 4
bombs spawned, which each pair have to deal with, Rook and
Pawn will spawn in the middle, and Bishop and Knight are
random between the 5 outer area. While this is happening,
the boss will spawn tracking laser and periodically close
the area with burning ground, indicated by big red AOE on
the floor.
To solve this effeciently, when the boss teleport to middle,
players should have a pair of Bishop + Knight on North side, and Bishop + Knight on South
side. These 4 players should be the strongest DPS in the team
because they have to look for the bombs and potentially have
to solo it. Since Rook and Pawn always spawn on middle, it's easier to coordinate the 2 pair.
Since the middle area is always burning, the pairs have to go
in to Awakening + Pet skills, and get out. Clearing the 4 bombs
will remove the fire walls.
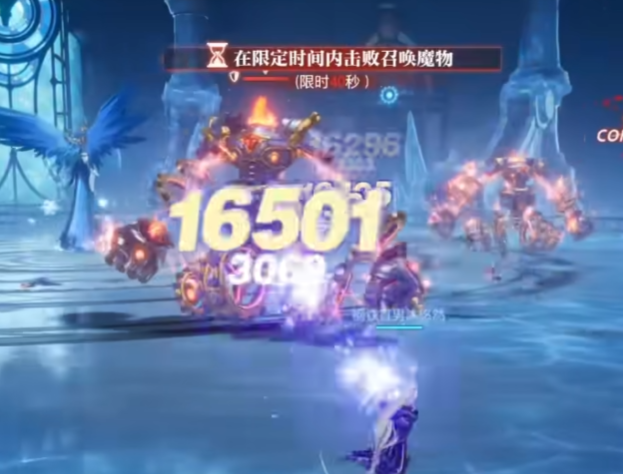
Chessboard (Pawn/Leotid) (x750 HP)
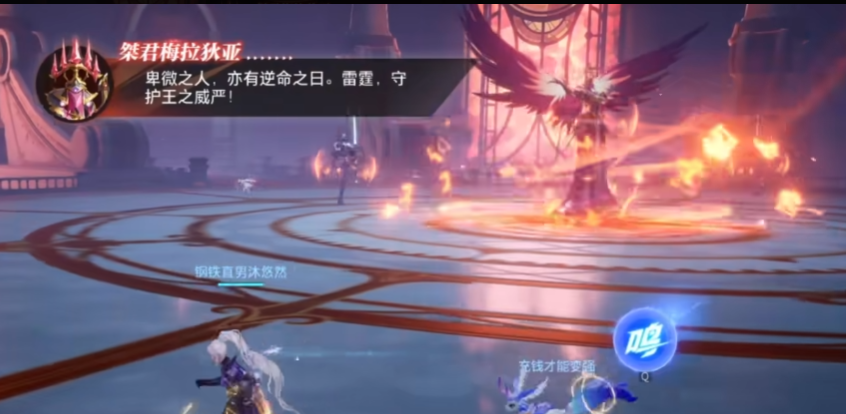
At around x750 HP, the boss will move to middle and become
invincible, spawning either 2 Leotid, or 2 Pawn, and
teleporting 2 random people to the Chessboard. The
Leotid/Pawn cannot be damaged until the 2-man cleared the
chessboard. On the chessboard, there's 2 type of chess
pieces, big or small, if it's Leotid, destroy the big ones,
if it's Pawn, destroy the small ones, or just destroy all.
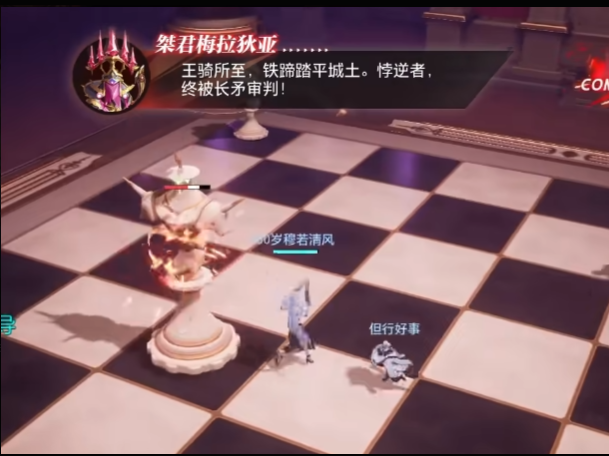
In the chessboard, the 2-man cannot use any skills, pet
skill, and ultimate, only basic attacks. To resolve this, if
there's no voice chat, the boss will always have a unique
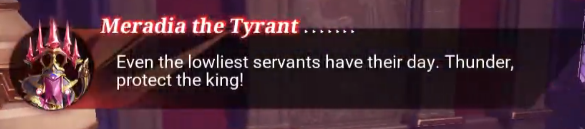
dialog to indicate the boss spawned. For pawn, "Even the lowliest servant have their day. Thunder,
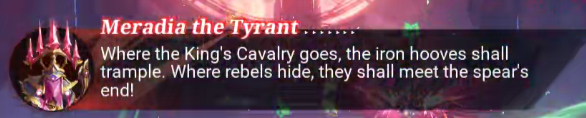
protect the king!". For Leotid, "Where the King's Cavalry goes, the iron hooves shall
trample. Where rebels hide, they shall meet the spear's
end!". There's 40 second timer to defeat these bosses or meridia
will wipe everyone.
Upon clearing the chessboard, the bosses can be damaged and will
do a mechanic. For pawn, it will be shield-broken after casting
8 lightning which chase everyone. For leotid, the boss have to
be tripped over. For pawn, we recommend players to try coordinate
the 2 pawn to be close to each other while waiting for the chessboard.
For Leotid, we recommend players prioritize tripping over DPS.
Clearing this mech indicates the start of Ice Phase
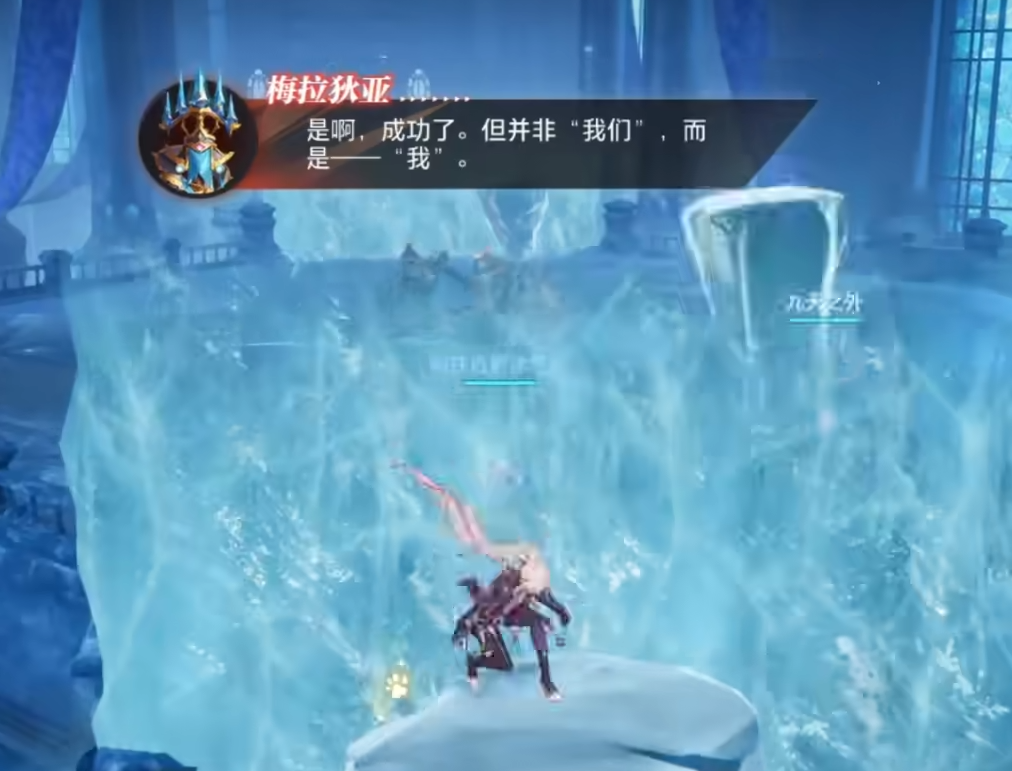
ICE PHASE
Sealed Mark (Ice)
During Ice Phase, all queen's attack leaves ice trail which continously damage players, and can freeze players if hit too much. The boss will spawn Seal Bomb similar to fire phase. It's recommended to save up Ultimates, or even Pet skills, to break these bombs whenever it come up. Failure to break the bomb result in a wipe.
Front Slash (Ice)
Similar to Front Slash on Fire Phase, but this time the boss
will usually do it 3 times in a row. Do not stay in front of
her, or perfect dodge it. The slash will leave continous DoT
Ice Trail.
Staying in air (double jump height) also allow players to dodge
the slashes entirely.
Shockwave
The boss will teleports away and her sword will glow pointing downwards, striking a huge shockwave accross the map, dragging anyone caught within. To avoid this, always make sure to stay close to the boss whenever the boss teleports to be ready. If too far, prepare to triple-jump and time the dodge.
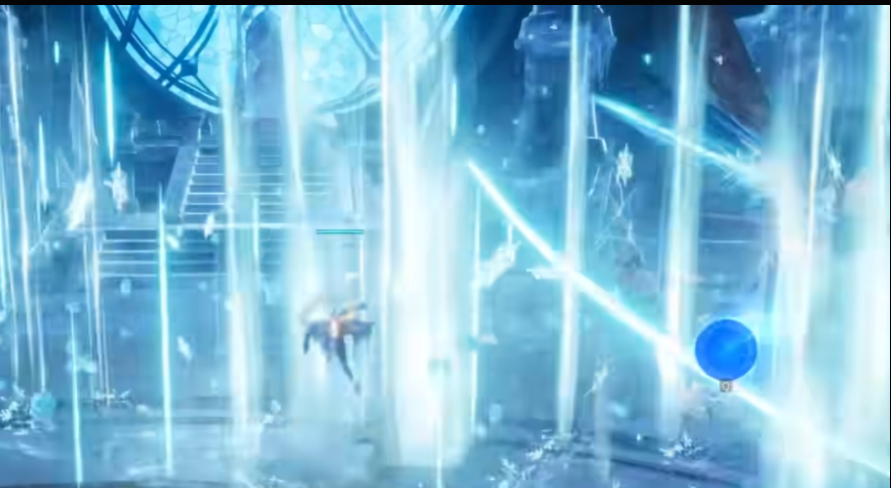
Ice Cone
The boss sometime will spawn Ice Cone, which will chase players before dropping. This Ice Cone will explode after a while. Players chased by the Ice Cone should move away and drop it away from the boss before going in again.
Icebolts
The boss sometime will spawn Icebolts that spawn multiple ice portal around every player and shoot icebolts at the ground. This mechanic can be easily avoided by staying mid-air (double jump height) as the bolts only strike the ground, or dodge and run.
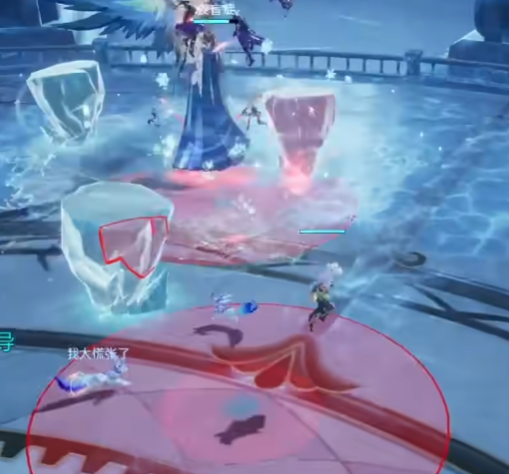
Ice Walls (x510 HP)
At x510 HP, the boss will teleport to middle and seal everyone's skill. But this time everyone will be teleported randomly, and 4 bombs will be spawned in middle, therefore no need to mind the position. Everyone will be blocked by Ice Wall, which can be jumped over with triple jump, or wait for the Ice Cone to fall down to use as a platform. Do not overlap the Ice Cone because it will destroy each other. In the middle area, there will be 4 bombs which players have to destroy quickly. The boss will keep spawning Ice Cones and Icebolts (if too slow).
Chessboard (Polones/Ophelia) (x250 HP)
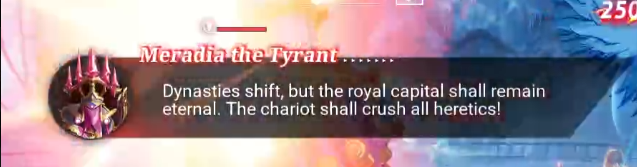

At x250 HP, the boss will move to middle and become
invincible, spawning either 2 Polones, or 2 Ophelia, and
teleporting 2 random people to the Chessboard. The
Polones/Ophelia cannot be damaged until the 2-man cleared
the chessboard. On the chessboard, there's 2 type of chess
pieces, purple glow or orange glow, if it's Polones, destroy
the orange ones, if it's Ophelia, destroy the purple ones.
In the chessboard, the 2-man cannot use any skills, pet
skill, and ultimate, only basic attacks. To resolve this, if
there's no voice chat, the boss will always have a unique
dialog to indicate the boss spawned. For Polones, "Dynasties shift, but the royal capital shall remain
eternal. The chariot shall crush all heretics!". For Ophelia, "Underworld shades, hearken to your king's words.
Darkness and silence, be the eternal law!". There's 40 second timer to defeat these bosses or meridia
will wipe everyone.
Upon clearing the chessboard, the bosses can be damaged and will
do a mechanic. For Polones, both of the boss will start doing
2 laser beams, this move can be avoided by triple jumping the
overlapping laser, or tank it with awakening animation. For Ophelia,
remove every fireball beforehand, before it turns into permanent
purple fireball.
Clearing this mech indicates the start of Dual Phase
DUAL PHASE
Fire Lava
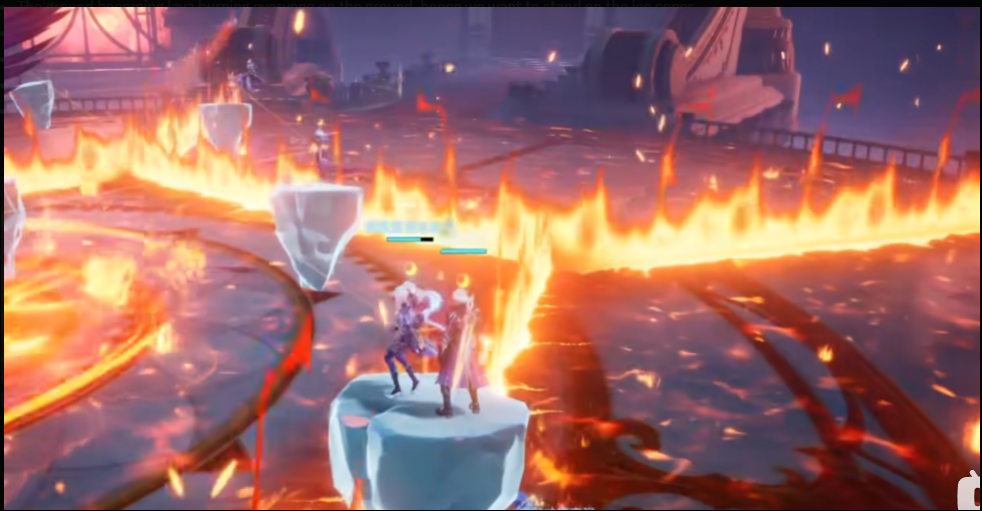
At the start of Dual Phase, and until next phase at x100 HP, the boss will spawn specific set of moves. The boss will spawn multiple ice cones, and transform into fire phase. The boss will then create fire walls with burning ground in the floor. To avoid this, make sure to climb on to the ice during the mechanic. Ranged player can damage the boss if close enough, and Melee player can damage the boss by staying mid-air (double jump height) throughout the mechanic.
Clone (x100 HP)
At x100 HP, the boss will enter the final mechanic. HP will
be locked for a while, and the boss will spawn an opposing
element clone. Players have 40 second to defeat the clone,
or be wiped. During this mechanic, both boss can use all
their normal moves. If player have low revive count, it's
recommended to kill the clone first. If player have lots of
revive and good DPS, can go kill the boss right away. The
most dangerous mechanic during this if Ice boss/clone use
"Shockwave" from far away, always keep watch of what the
other boss is doing.
The boss will summon the clone again if taking too long to finish
the fight.
Copyright @ 2025 Boarhat.gg